Thursday, June 30, 2011

Thrifty Thursday

I found this paint-by-number at a thrift store a couple of months ago and thought it go well in our downstairs bath. Super-cheap and I love pbn's, there's something so old-fashioned and simple about them! 

But when I got it home, I was stumped. I wanted to hang it like this (next to a painting from my Granny), but Jesse thought it seemed imbalanced and that we needed something hanging on the other side. So, I didn't hang it, and it's been sitting instead. I've scoured sales to no avail for something else, but just kept on coming up empty-handed.

Over the past 3 years that I've been working outside my house, I feel like I've slowly become less and less organized. Perhaps, the job wasn't so much the problem, I think my kids getting older (and adding an extra little one) has compounded the problem. It's my goal to begin to regain my house.


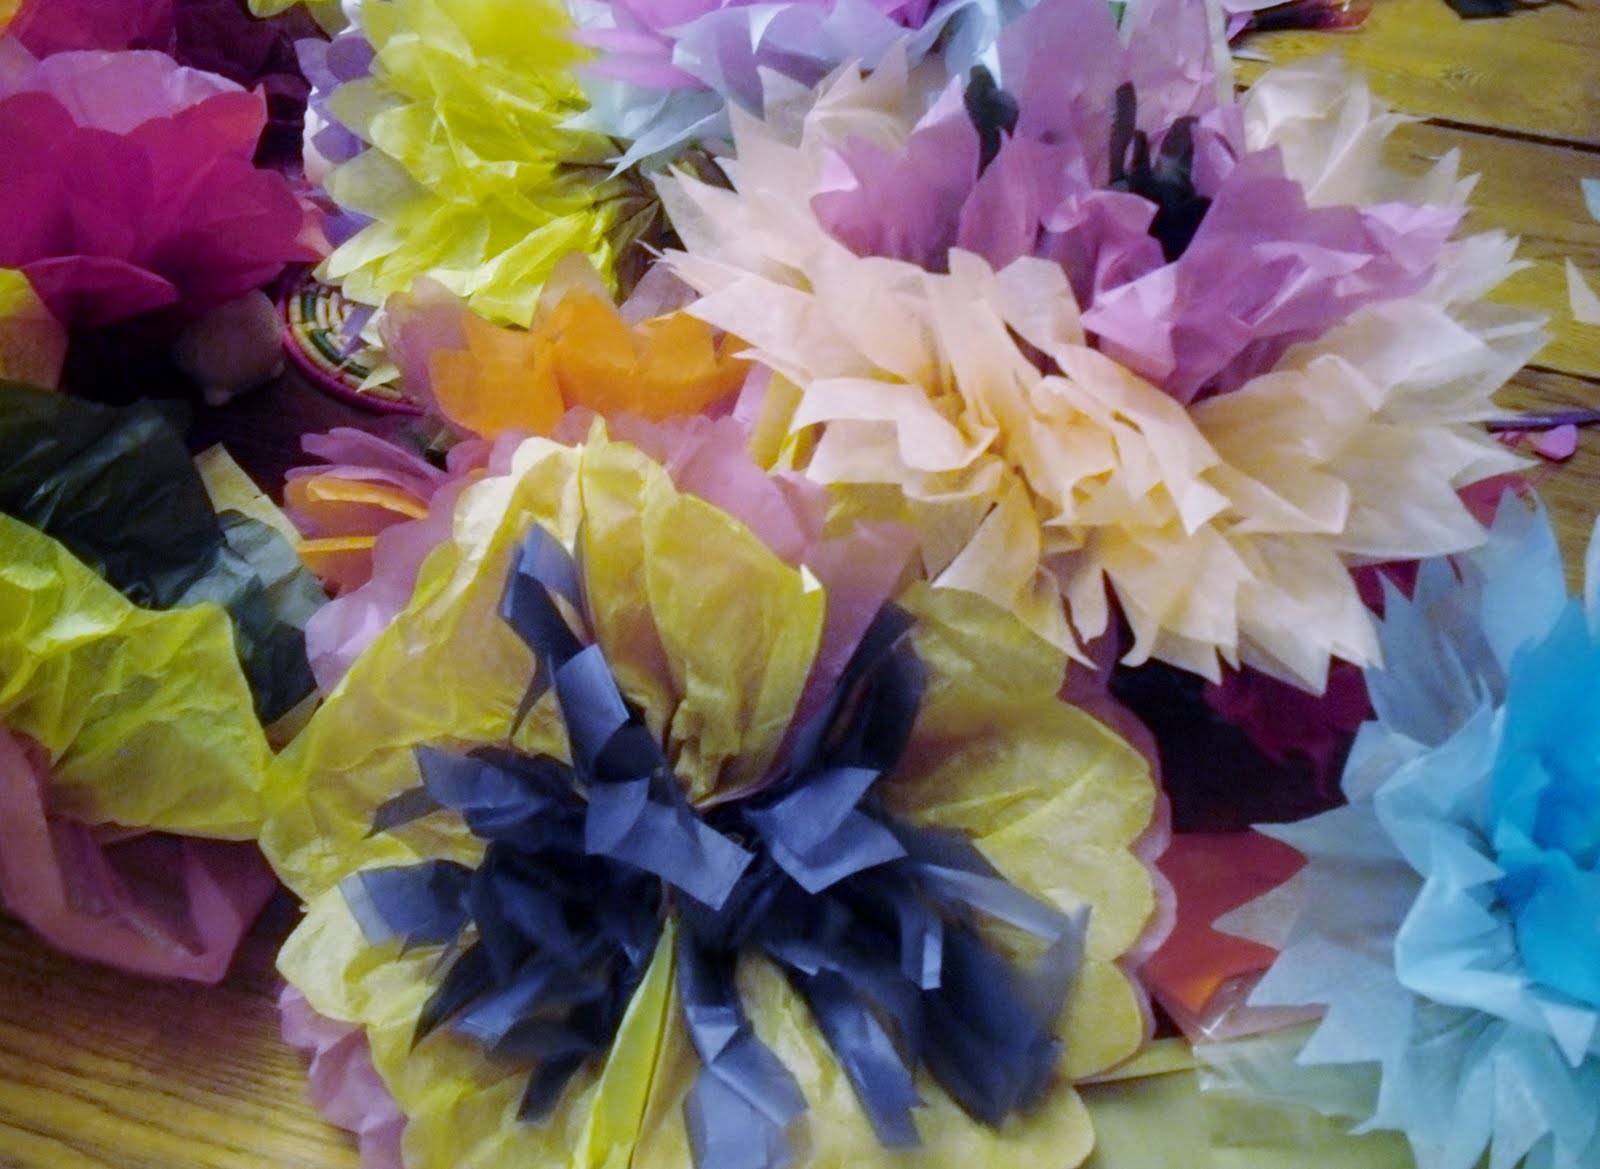
So, when I saw this-- it was a perfect solution to my earring mess and I'd finally found something to hang on the wall on the other side of the boat! 

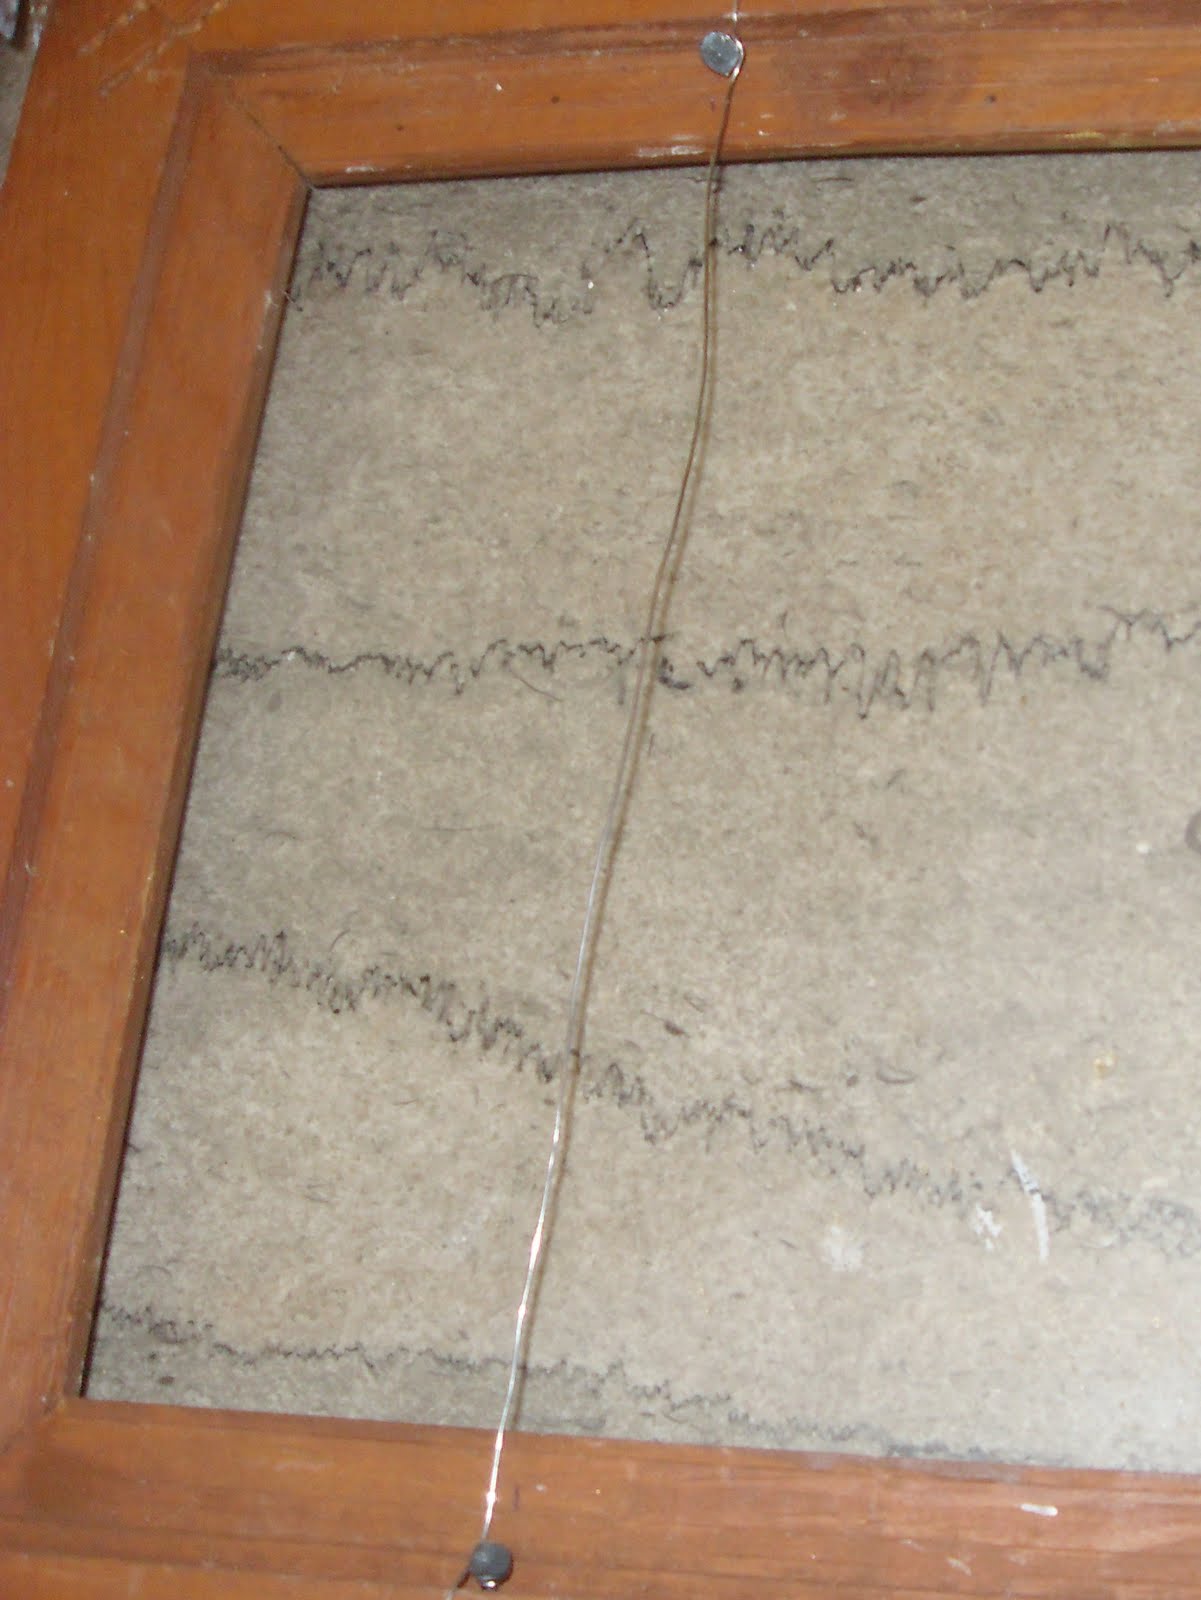
I picked up this frame a few years ago for 50 cents thinking I'd using it for something in Diego's room, but it didn't work out like I'd hoped. So, I got up in the attic and dug it out. A few tacks and some wire, and we were in business! 

Now I have a bit more organization and my new painting finally on my wall... for a total of $2! 

What's been your favorite thrifty find recently? I'd love to hear! 

Wednesday, June 29, 2011

Mexican Flower Poms


The rest of my flower project is now finished, and I'm able to check one more thing off my to do list. My list also included calling people. I hate calling people. Well, I don't hate calling everyone but I do hate calling people I don't know well. I seriously put it off for as long as I can, but today was the day it needed to be done.


Anyone else love lime in their water? Limes are a staple at our home...especially since Jesse gave up pop (or soda, or coke or whatever you call it in your area). Love freshly squeezed limes! They make me feel happy... and so does this project!


Back in January, my friend Angie and I were wandering around the web for wedding ideas when we came across these! Oh my! we were really taken in!


Okay to start out you need 6 flowers, a white wire hanger, and ribbon. Just a little math for you- the only thing I had to purchase specifically for this project was the tissue paper for the flowers (Michael's - $8), I had the wire, the wire hangers, and ribbon lying around- with the 100 sheets of tissue paper (not using the white, or metallic colors) we were able to make 30 paper flowers, which makes 5 poms. Total for each pom was about $1.60... not bad!

Bend your wire hanger hook down to create  more of a loop.

Curl the shoulders down toward each other.

Continue working the wire until the inside loop and outside loop create sort of a wire ball.

After this, start wiring on the flowers. Start at the top and wire the first two across from each other, using each wire on different rows of hanger. Tie the next two flowers on the opposite sides and below the first two.  Finally, wire the last two flowers in place on the same sides as the first two but below the third and fourth flowers. This will help to evenly distribute the flowers.

At the top you can have a hole, since it will hang above heads no one will see this part.

But from the bottom, you should just see flowers.

Now for the ribbon... or in my case, vintage seam binding. If you ever go to an estate sale and see seam binding for cheap, buy it! You never know what projects will come your way in which you will need it... and if you don't want it for yourself, you can always give it to me! ;) Cut 3 ribbons in varying lengths of 4-6 feet.  

At the bottom of the pom, you can find where the two wires of the hangers meet--

This is where you want to loop the ribbons. Double knot them and it's ready to hang.

Beautiful! I can't wait to see them at the party with all the other decor-- things are really coming together!

Which I guess is pretty good because we're only four days out!

Have a Wonderful Wednesday!


Tuesday, June 28, 2011

Papel!

Isn't paper amazing? I am intrigued at the many facets of paper and the ways it's used for art and craft. Tonight, I spent time with my momma  (and sister for a while, too!) cranking these puppies out!


This is the start of a larger project, but for right now, it's good to have this portion done and out of the way.


They will add a lot of color to this weekend's wedding reception for very little cost. I think the packet of 100 sheets of tissue is around 8 dollars at Michael's (less if you have a coupon). Wire and scissors round out your supplies for this project.


First take 2 half sheets of your first color and 2 half sheets of your second color and stack them. Then, using 2 quarter sheets of your third color, cut a fringe on both long sides and then place on top of the other colors.

Accordion fold your papers together.

Find the middle and twist the fold together with 12 inches of wire. Then, cut the ends of the folded paper... sometimes I do a pointed cut, sometimes a round, whatever you want!
(Sorry for the blurry pic, Cruz decided this was the moment to need attention! Hopefully you can get the idea.)

Fan out the folds.

Gently pull the third color to the inside of the flower creating the center.

Pull each of the second and then first colors toward the center, one sheet at a time.

Finished product!

Hope your Tuesday was Terrific, hope to see you tomorrow!


Monday, June 27, 2011

Strained Peas (and Other Such Goodness)

This little man pulled himself to a stand at the staircase today. (Hello gate at the stairs; goodbye ability to relax for even a second.) Is he really big enough to do this already? It must be all those strained peas (and other such goodness from a jar that I’m not even willing to taste) that have made him so strong. 


Speaking of goodness from a jar… “Hello, I’m Bethany, and I have a problem. I can’t throw away old jars.” Seriously, it’s bad. Fortunately, I’m one to feed my baby mashed table food more often than not, otherwise it’d be worse. But I went upstairs this afternoon and grabbed my on-going collection of baby food jars… some of them from Diego. (He’s turning 5 next month… I’m so embarrassed to admit this.) But I just knew that someday I’d have a purpose for all of those jars. Oh my, I sound like someone from who came out of the depression… oh wait, we’re in one again. Never mind, maybe you all are just like me then.

SO, if you’re like me and have turned into your Grandma Myrtle (or whatever your grandma’s name was), already at the ripe age of 32, then follow along because this post is for you. And if you’re not, then well, you can stop reading here or proceed to read and then decide if you want to start collecting old jars too.

Right now, there are a hundred and one colored jar projects out there to choose from--see:


The good thing is, that probably, you already have all your painting supplies at home: Elmer’s glue, water, food coloring and paint brushes. I used about a 2-1 glue water ratio, maybe I should have used a bit less. And I also a 2-1 blue-green food coloring drops; I did like the color I came up with.


Paint and dry- even the kids were able to help… which is good because I’ve only done about 20 and I’d like to do another 35. What am I gonna do with them? Well, you’ll have to wait and see, but I have a few things up my sleeve. 


Hope your Monday’s been Marvelous!

Thursday, June 23, 2011

Rockets and Wreaths

There's nothing like an unexpected surprise... one of my most recent and favorites was this super rocket picture that Jesse and Diego worked on for me while I was in Mexico. Diego was so proud to give it to me... it made my mama heart swell with love to see his little face and hear him talk about it.


I wish I had a surprise for everyone of my blog readers. I know that most of my blogging is for my own entertainment (and hopefully a bit of a record for my own kids... since I don't scrapbook). Still, it blesses me to know that so many of you take the time to read about what's going on in my life and the lives of my kids, to know that you pray for us and to hear your words of encouragement, and to get to know you better through your comments! Thank you!

And now for the winner of the wreath per random.org:
Congrats, Elisabeth... I'd tell you to contact me and give me your info, but we all know I already know where you live! Looks like you won't have to make that wreath after all!

Hope you've all had a great day... see you tomorrow!

Wednesday, June 22, 2011

A Wreath for the 4th {Giveaway!}

I had a chance to go by Hobby Lobby this weekend, and when I ran across these pinwheels, I knew I had to do something with them. (Especially, since they were 30% off-- have I said before I have a hard time turning down bargain crafting supplies?)


Anyway, I found these cute little stars that after discount were 70 cents for 3, a wreath and some blue ribbon and got to work a couple nights ago.


When I got home, I scavenged around for some vintage brass buttons-- new ones would work just as well.


I wrapped my wreath in ribbon and secured  it with my trusty-but-way-too-hot glue gun. 


Hot glue was also used to make my pin wheels and attach buttons in the centers.


I inserted the stars, bent the wires and applied a lot of glue to keep them in place.


Then, I placed a pinwheel over the wires to hide the massive glob.


Here's the result:


And, because I had some extra pinwheels when I was done, I made a smaller (slightly different version) to share with one of you!


Again, this will be open to Wichita area readers only, so that I can hand deliver it. (Sorry! I promise my next giveaway will be open to everyone... I just don't think it would reach you before the 4th if I mailed it!)

{This Giveaway is now closed-- find the winner here!}

Here's what you need to do to enter (you can have up to 4 entries!) --

1. Leave a comment telling me your plans for Independence Day!
2. Follow me with Google Friend Connect and leave a comment telling me you do.
3. Go to Little Vintage Me's facebook page (the link is at the top right of this page), hit the like button, and leave another comment.
4. Share the giveaway link through facebook or on your blog and leave another comment!

I'll close the giveaway sometime tomorrow evening- good luck and have a Wonderful Wednesday!


Tuesday, June 21, 2011

Painting Sticks {Craft Tuesday}

About a month ago I picked up five bottles of powdered tempera paint for $2.50 thinking that we could probably come up with a use for it at some point or another. (I have a hard time saying no to cheap crafting and art supplies.)

When I saw this at ohdeedoh a few days ago, I knew I'd found our first Craft Tuesday project and a great way to finally use some paint!


Have a Terrific Tuesday!